...
![]() IMPORTANT: When you create your own Submit Action it will probably not work with the S4S Mapping Wizard. See Using Custom Submit Action With the S4S Experience Sitecore Form Mapping Wizard.
IMPORTANT: When you create your own Submit Action it will probably not work with the S4S Mapping Wizard. See Using Custom Submit Action With the S4S Experience Sitecore Form Mapping Wizard.
Create Submit Action
- Create a project in Visual Studio and a new class similar to the example code (inherit from SubmitActionBase). The example project name is FuseIT.Salesforce.Demo and the class name is FuseIT.Sitecore.Demo.SubmitToSalesforceContacts. Modify the class to your needs and copy the compiled DLL to your Sitecore bin directory.
- Create a new Submit Action within Sitecore by opening the Sitecore Edit Content window and navigating to System » Settings » Forms » Settings » Submit Actions


- Right click on the Submit Actions node then Select » Insert – Submit Action. Enter a name for the new Submit Action.
- Enter the custom submit action class name (FuseIT.Sitecore.Demo.SubmitToSalesforceContacts) as the Model Type.

- Save and publish the new Submit action.
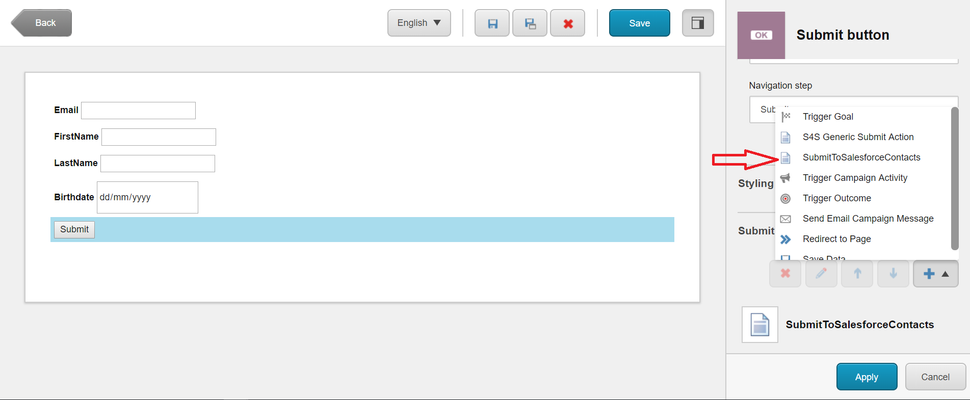
- Now if you generate a new Sitecore Experience Form and add a submit button to the form, new custom submit action will be shown under the submit action section as below.

Next Step
Using Custom Submit Action With the S4S Experience Sitecore Form Mapping Wizard
Steps
| Child pages (Children Display) | ||||||
|---|---|---|---|---|---|---|
|